A few weeks ago I spent some time building an FTIR multi-touch table. I thought I'd post some pictures to share how it turned out and mention a few of the things I learned along the way. It's still definitely a work in progress but I wanted to document it before I forget the details. My motivation for doing this was to have access to a large scale multi-touch interface for design and prototyping purposes. Plus it's fun to play with and I like to build stuff.
For this screen I decided to go with the FTIR method since it's compact and I think it will allow for some interesting physical configurations that other methods, not being as self-contained, wouldn't support. It also seemed like a reasonably simple project and had low material costs which were both important factors as this would be simply used for prototyping things in my home workshop.
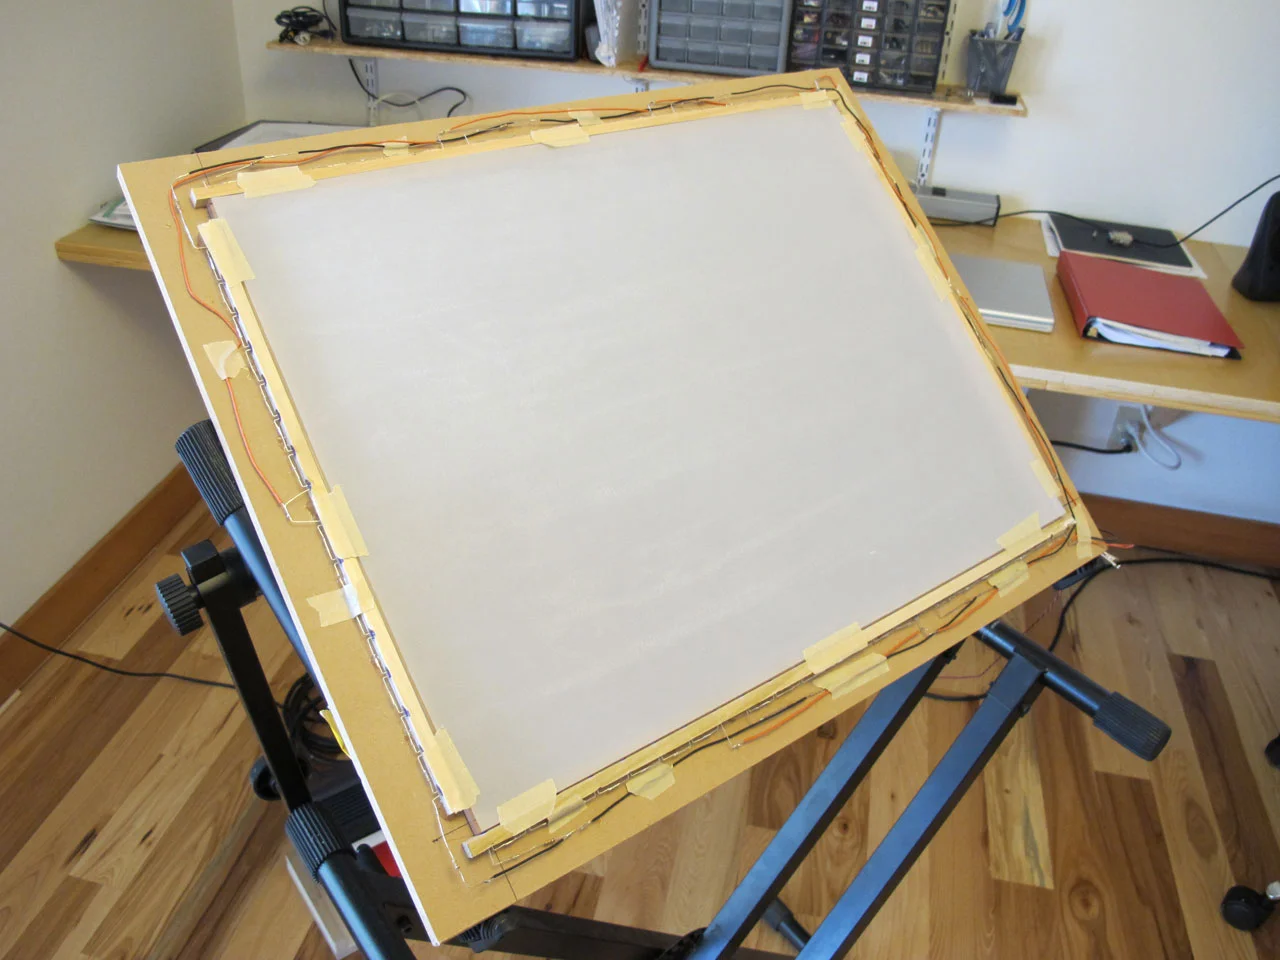
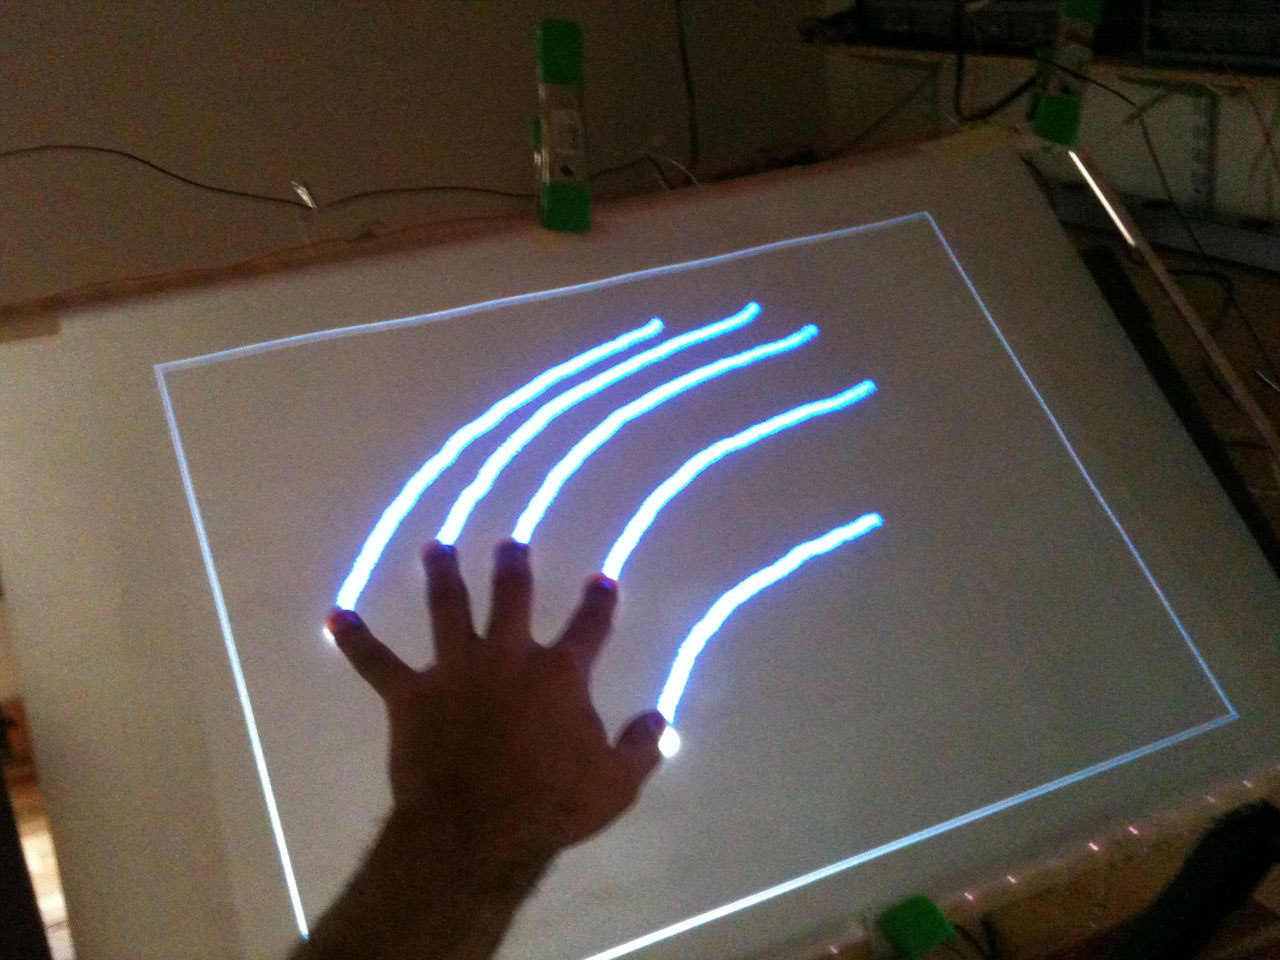
Here's how it turned out:
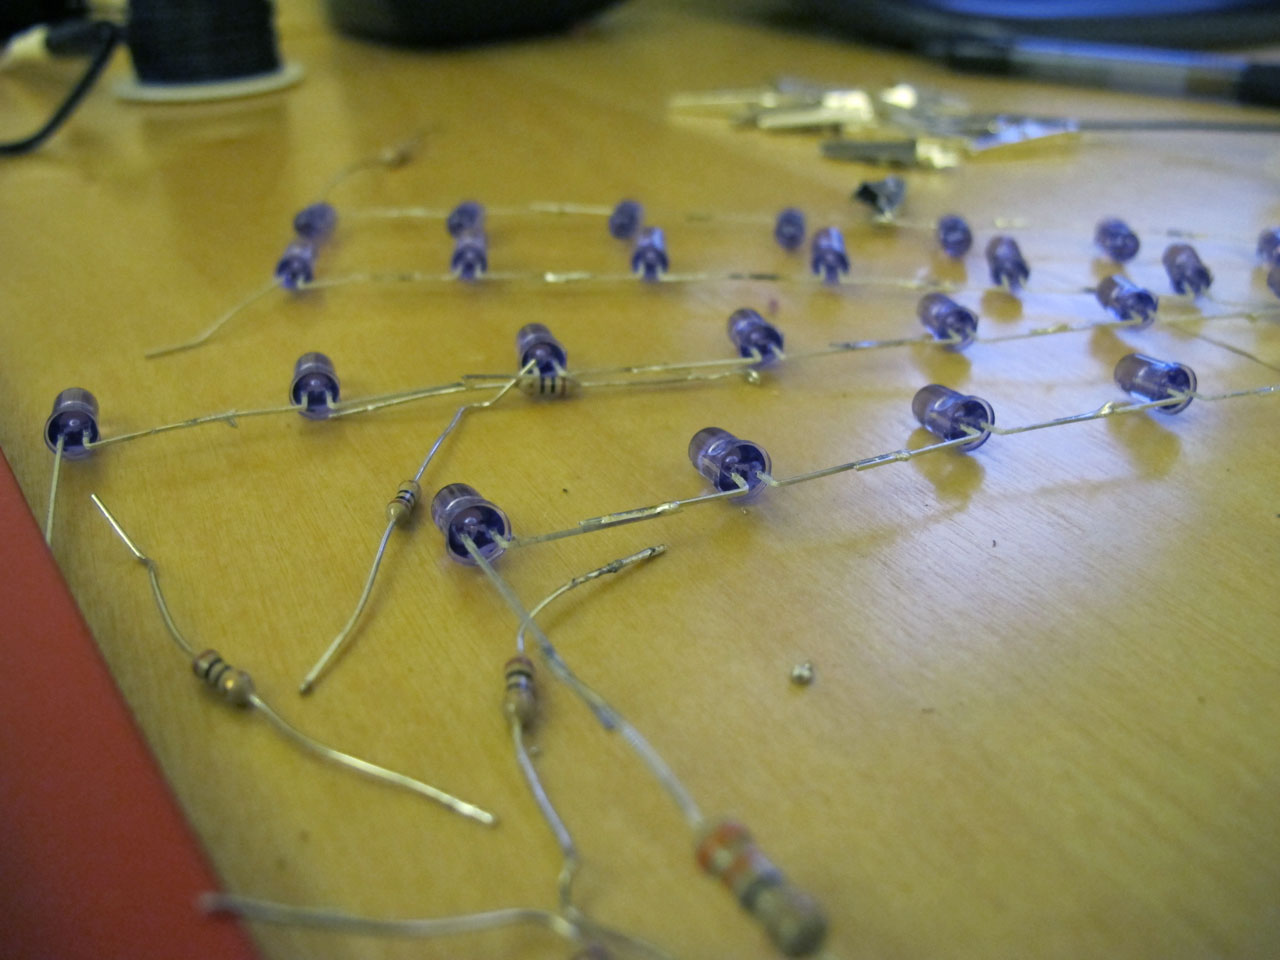
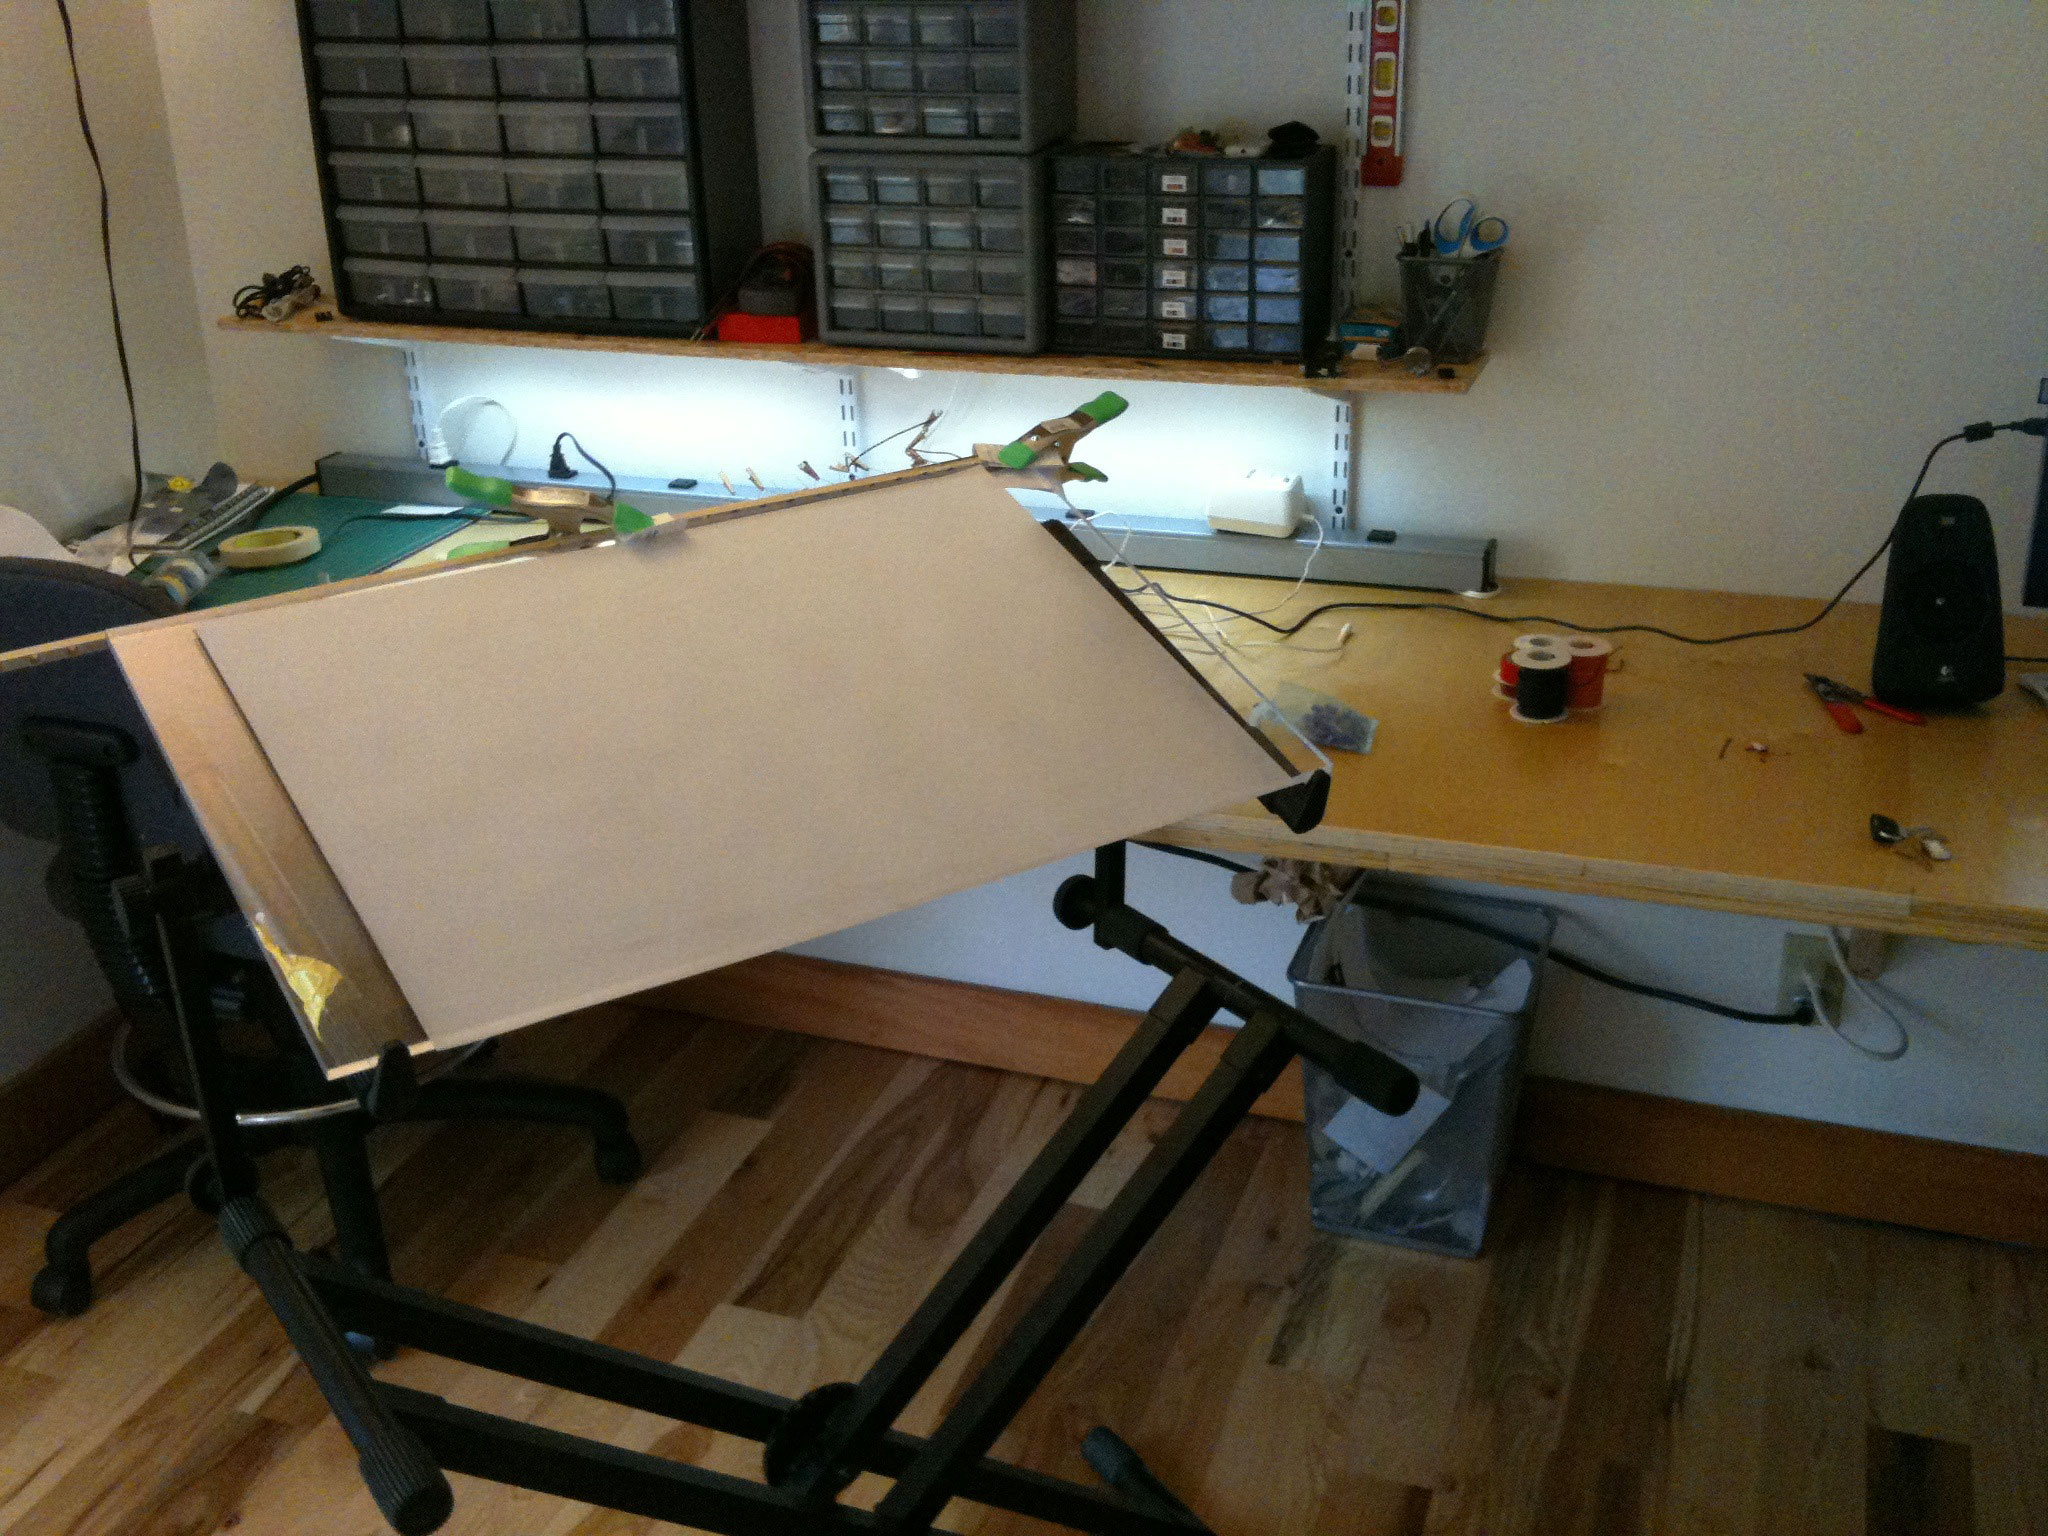
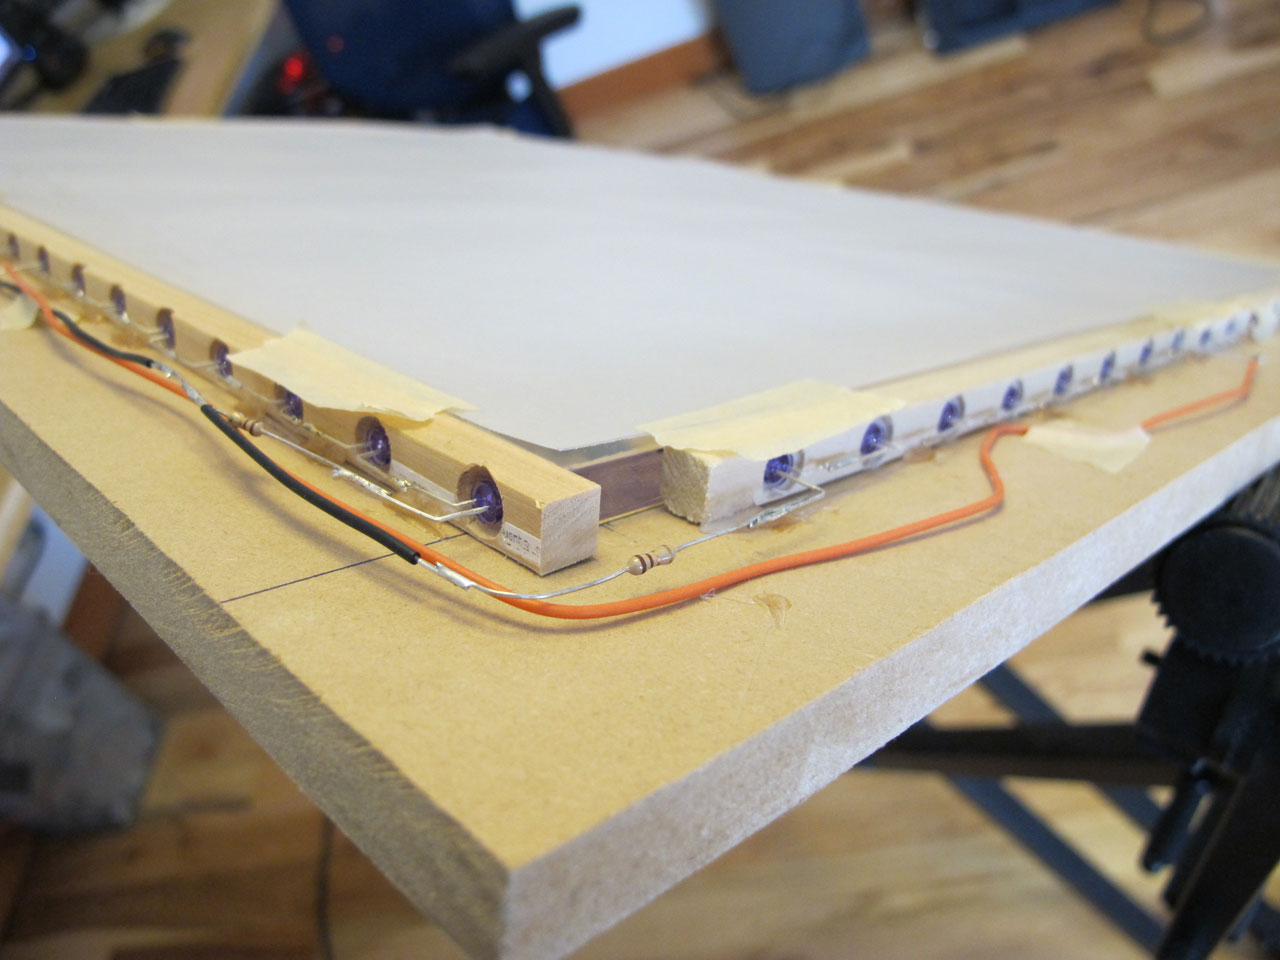
As far as materials go, I got a chunk of 3/8" thick cast acrylic from TAP plastics, a sheet of velum, ~100 infrared LEDs, a tube of clear silicone sealant and a PlayStation 3 USB camera. Those items along with miscellaneous wood bits and some wire were all I needed for the project.
Things I Learned
Nothing about the project was terribly difficult, but there were some stumbling points that I could have avoided if I had known a few key things. Maybe they will help you too!
Thing 1 - Acrylic Edges
The edge finish of the acrylic makes a big difference, the clearer the better. Rough saw cut edges scatter the IR light and will really dim the touch points. I used varying grits of sandpaper down to about 350, then I buffed it with a polishing wheel. You'll want to end up with an edge you can see through like glass, and should look sort of like a "hall of mirrors" effect when you peer into it edge-wise. It's hard to take a photo of this effect, but the following picture should illustrate what I mean.

Thing 2 - Visible Light Filter
From my initial readings online I tried using a piece of the film from an old floppy disc. This works to reduce visible light, but also blocks significant amounts of the IR which makes the touch points very dim. I tried a piece of exposed film negative which made a dramatic difference. There's more visible light getting through but the signal to noise ratio is really good and I'm getting excellent tracking now.
Thing 3 - Camera Position
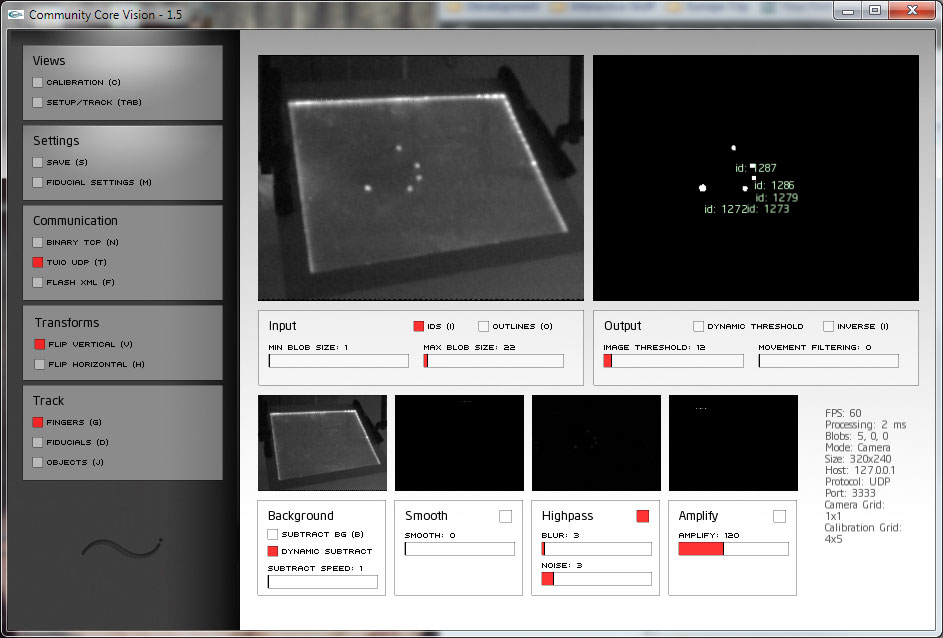
Even though CCV has calibration for the camera, it doesn't seem to handle keystone distortion well at all. I was unable to get good registration if the PS3 camera wasn't lined up very precisely with the screen. I find it hard to imagine that I'm the only one who had trouble with this, maybe I'm just doing something wrong in CCV? Anyhow, it was frustrating enough that I made my own calibration utility that sits as a shim between CCV and my own projects, correcting the TUIO coordinates on the fly.